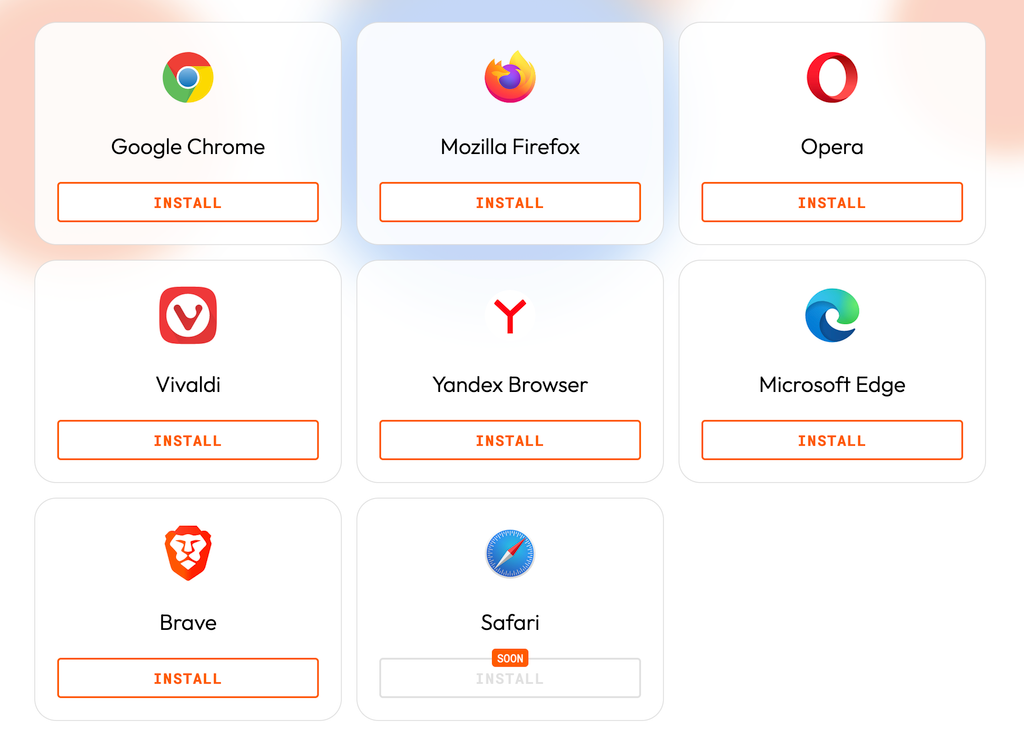
Install Temple Extension
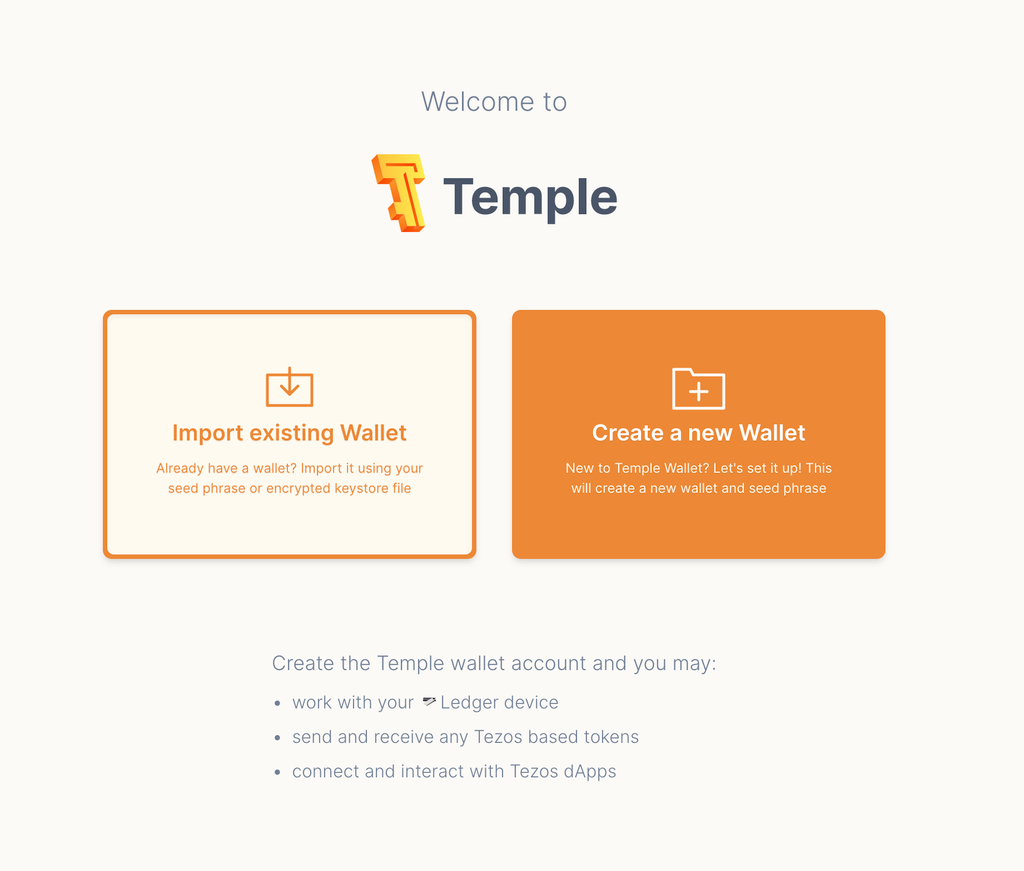
If you have an existing Temple Wallet account click on import existing wallet. You will want to get your seed phrase or recovery file.
We will assume that you are adding Temple for the first time.
Select “Create a new Wallet”
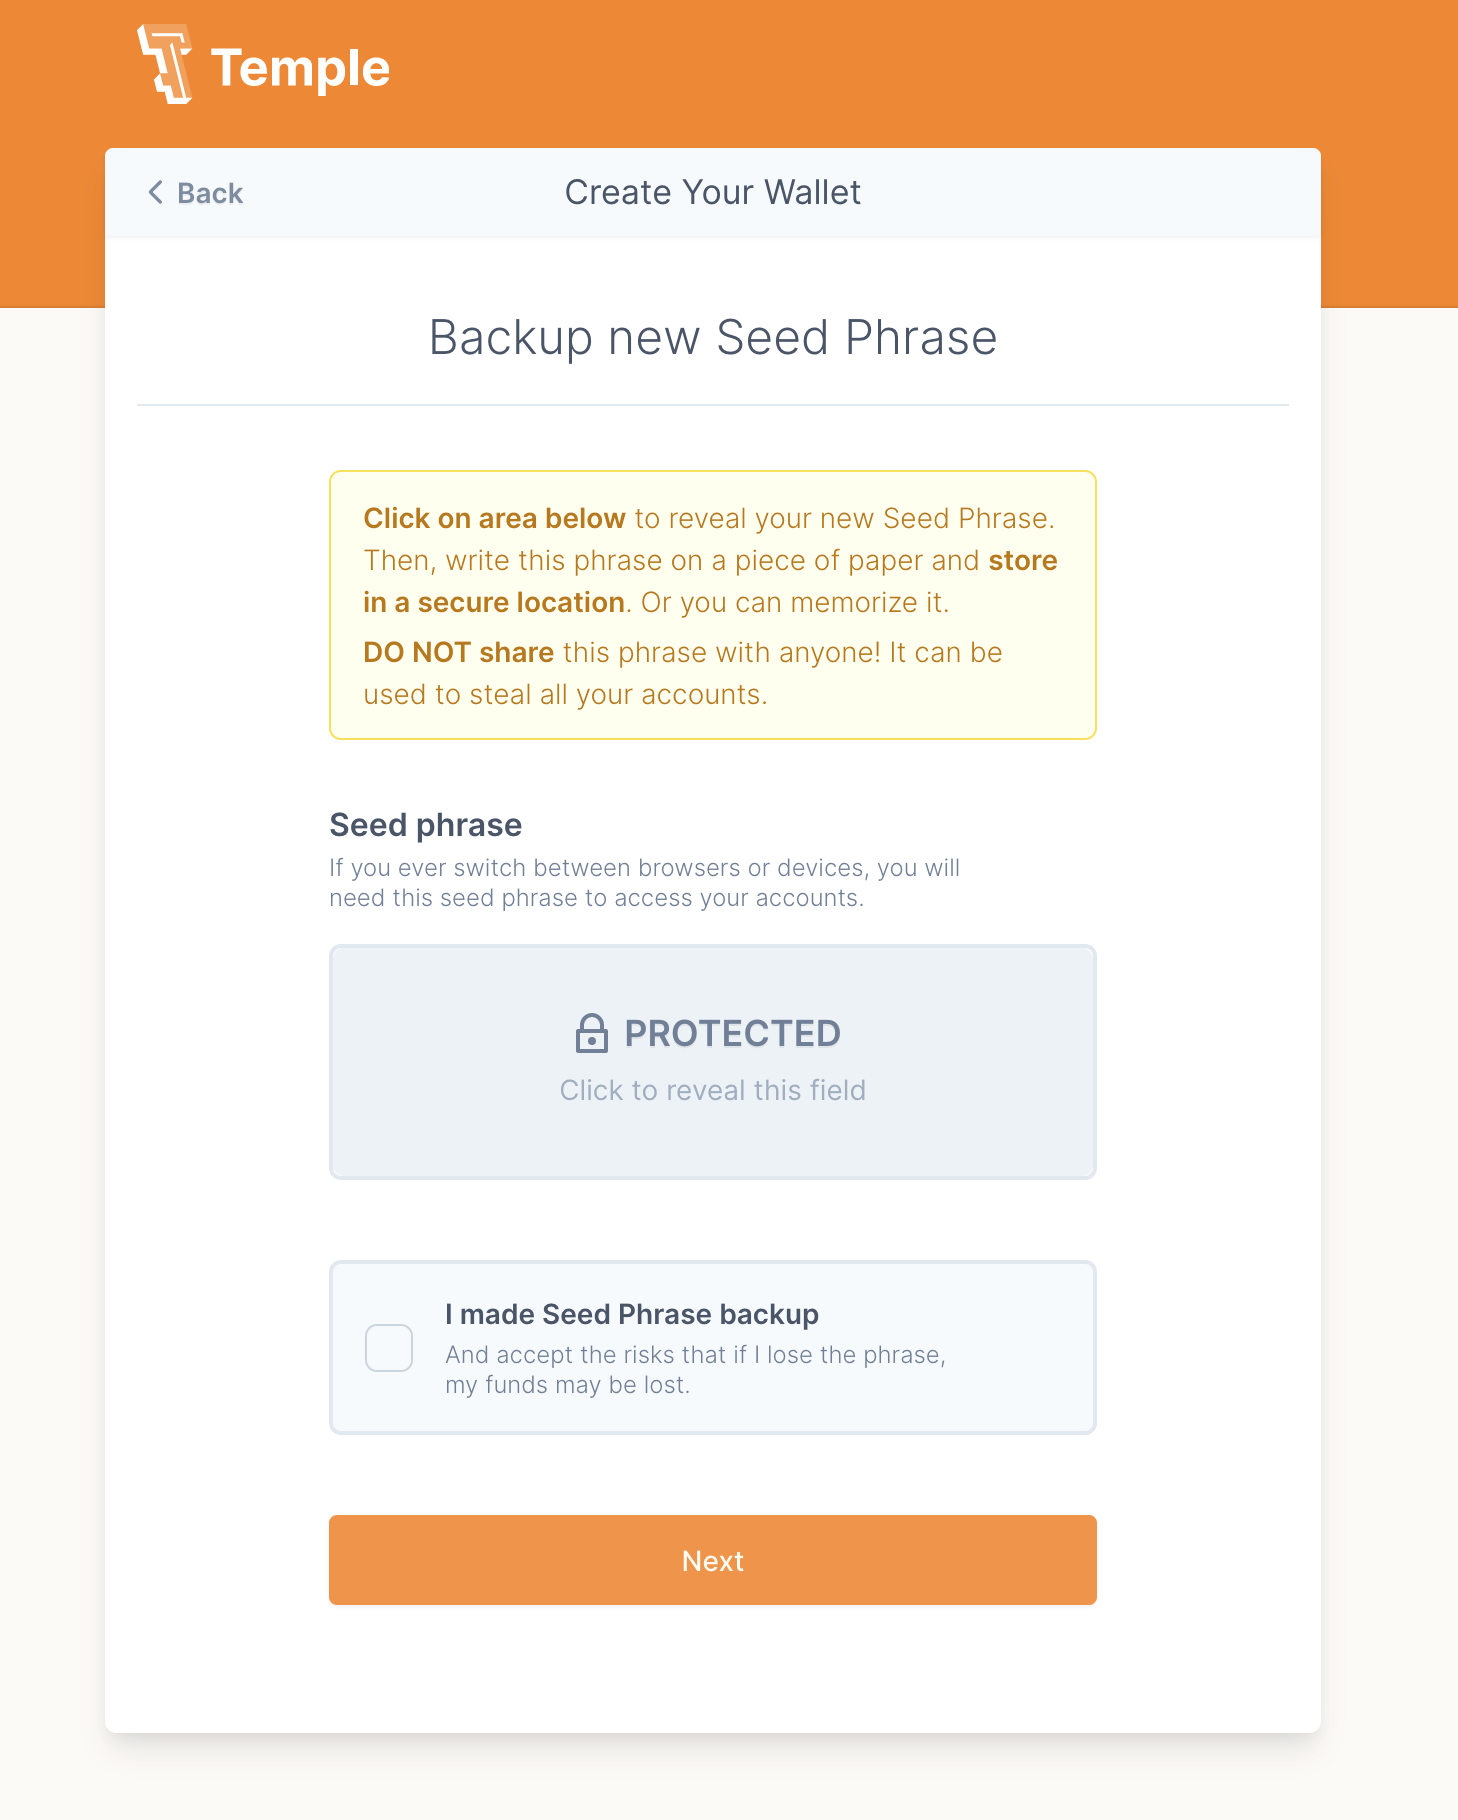
Click on the area that says “Protected” and write down the seed phrase.
Next check “I made Seed Phrase backup” and click “Next”
After confirming that seed phrase, set a password and skip onboarding.
At this point you should have the temple wallet extension installed.
Configure Custom (Ghostnet) Network
Out of the box Temple provides a connection to the Tezos Mainnet, as well as various testnets.
EmProps OpenStudio Private Alpha is built on Ghostnet which is an option. However the default node that Temple connects to leaves a lot to be desired speed and reliability wise. So, we are going to add a custom node that will work way better.
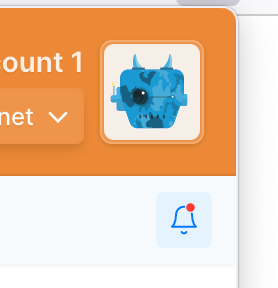
Click on the image next to the account name.
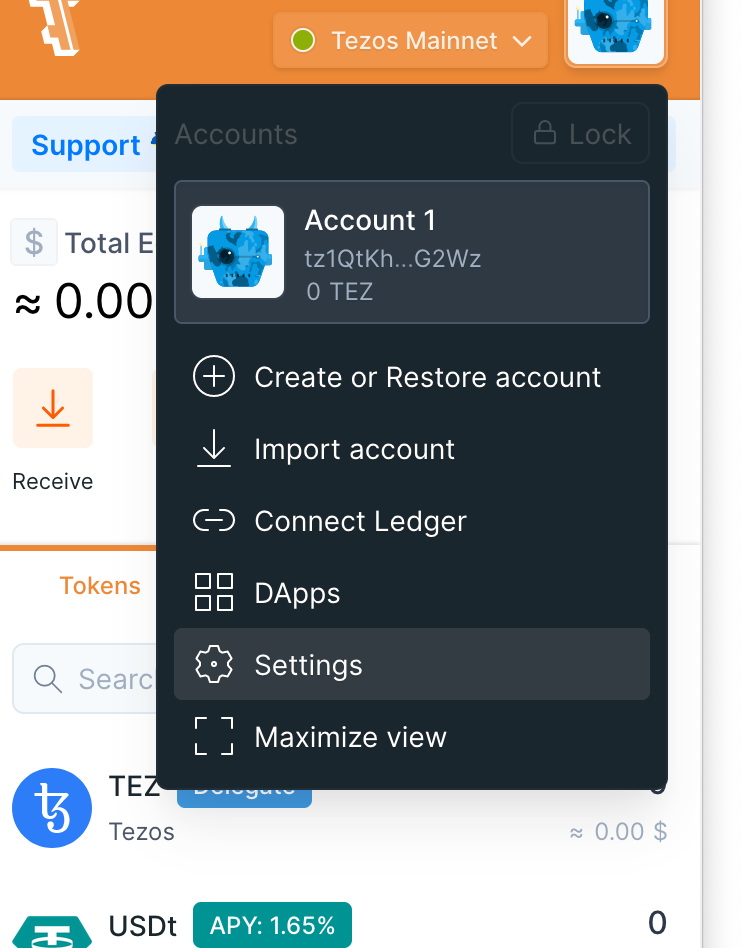
Then click on the Settings
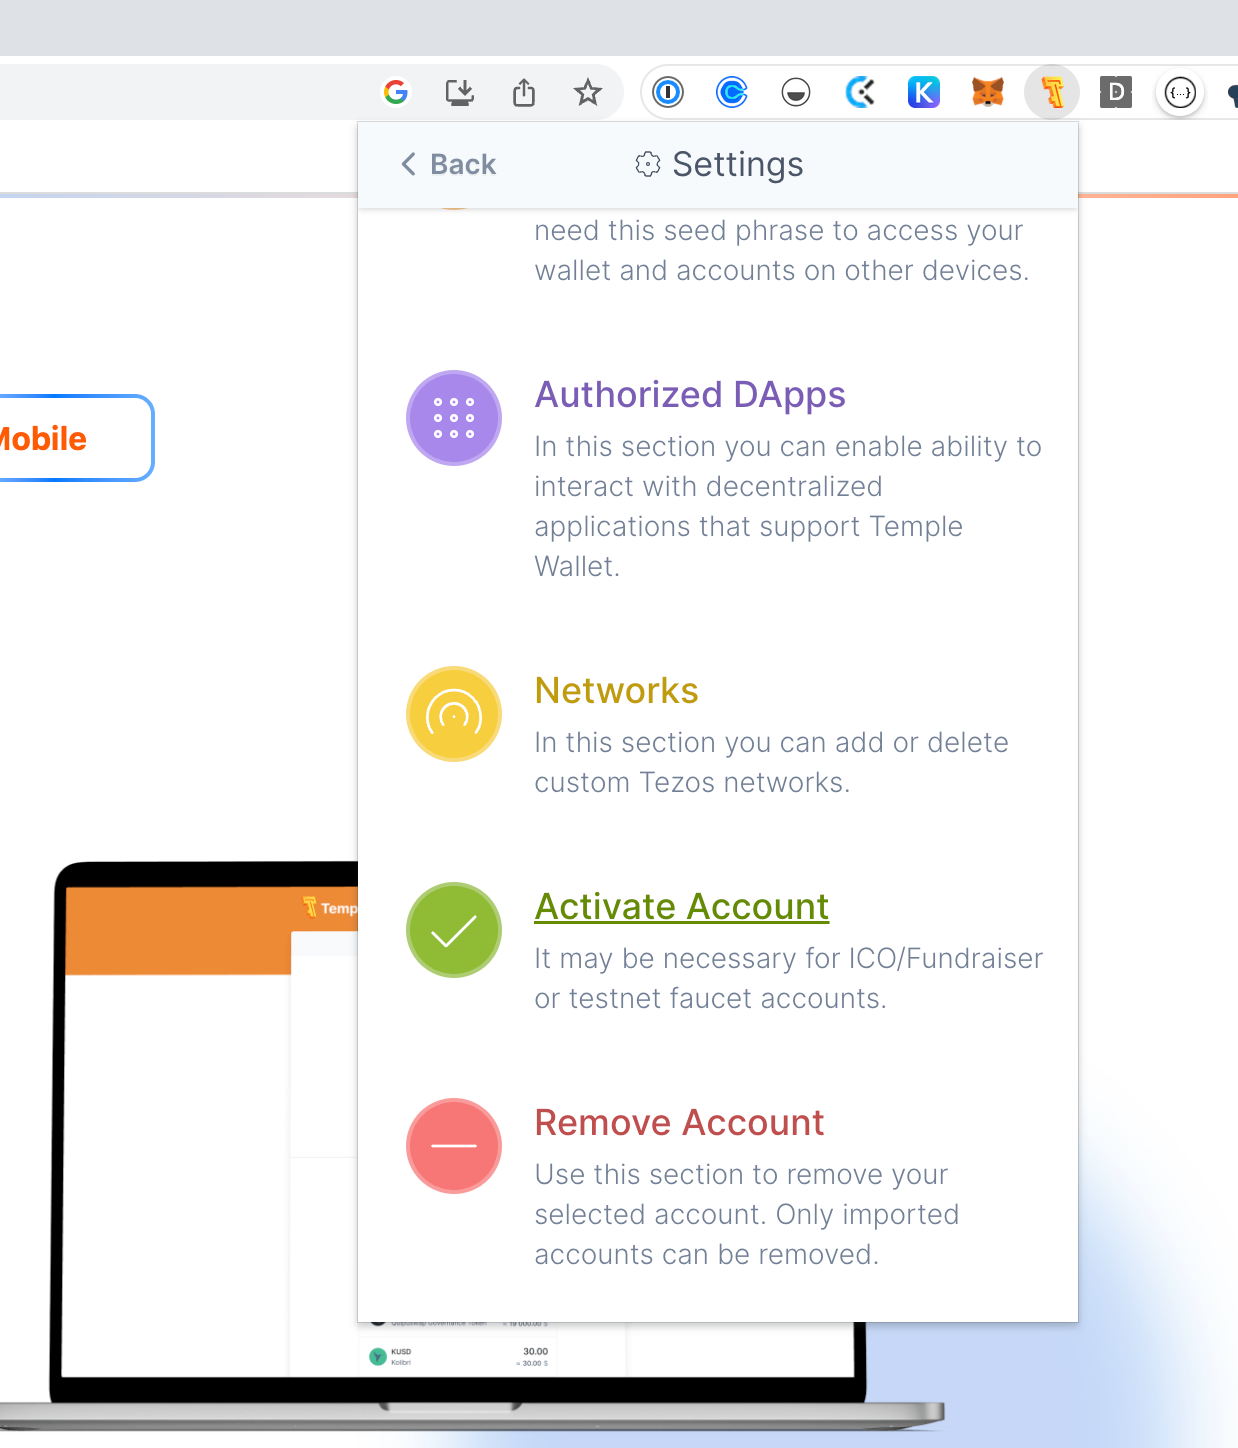
Then scroll down and select “Networks”
There will be a lot of different networks, but we want to scroll down to the bottom to “Add Network Setting. Here we are going add our ghostnet node which we will call EmProps OpenStudio
In the RPC base URL field type “https://ghostnet.tezos.marigold.dev/”
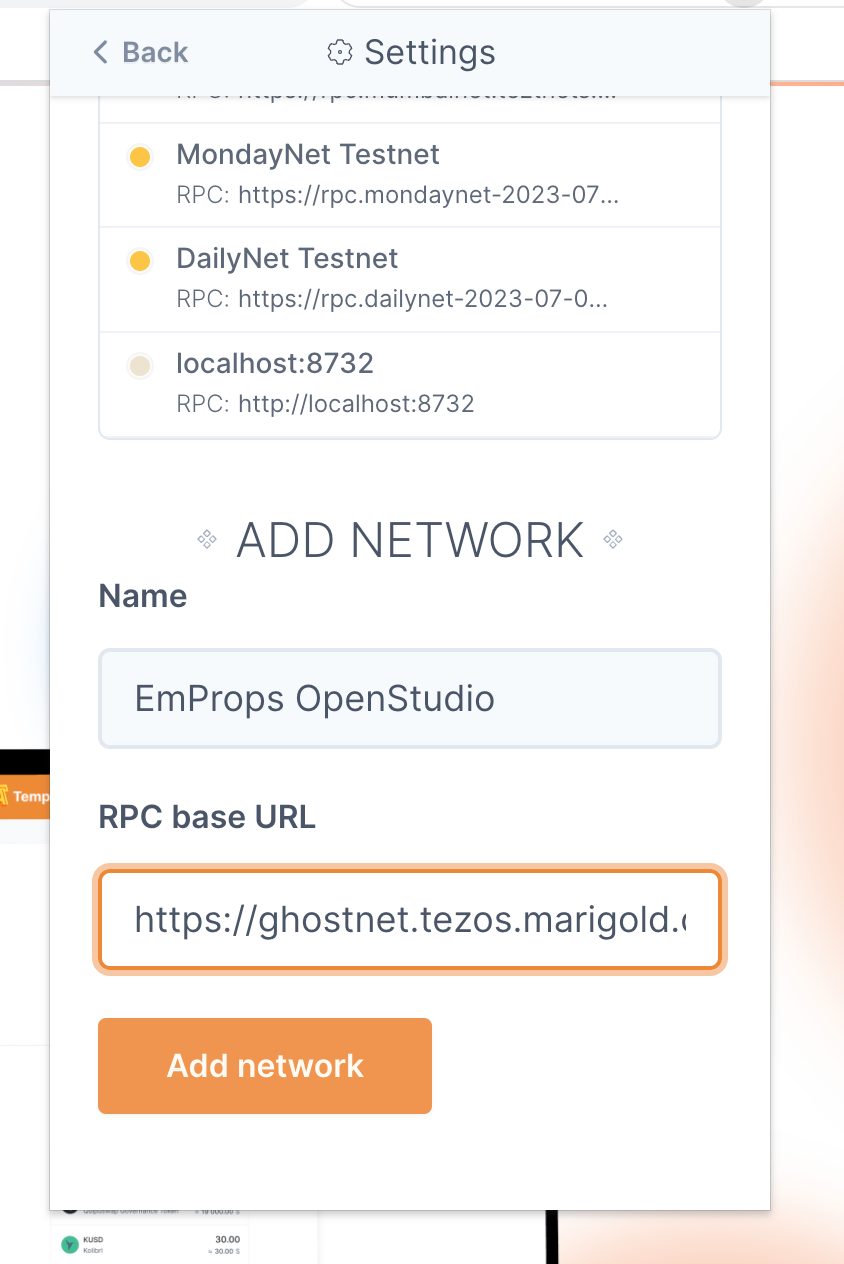
Click Add Network and we are in business.
Now you can click on the Networks Dropdown and select the newly added EmProps Openstudio Network.
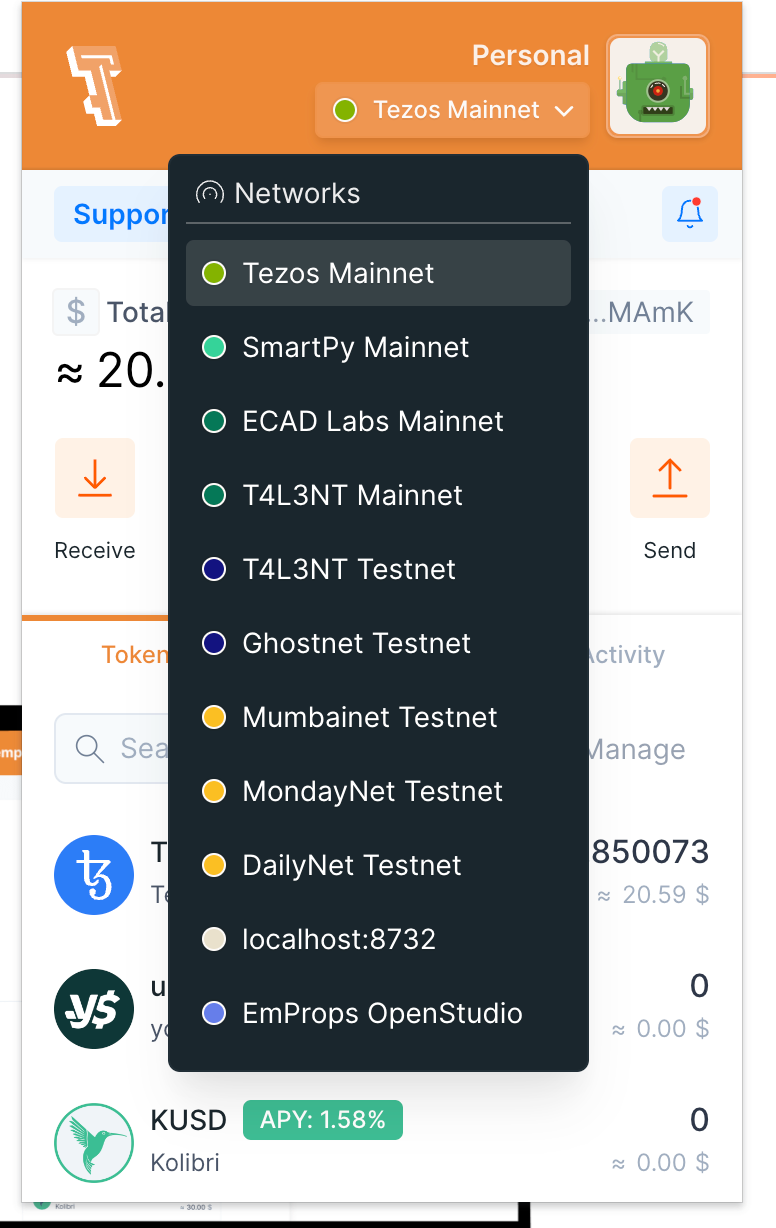
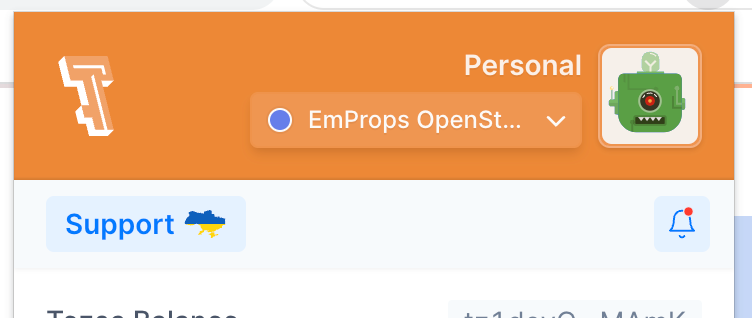
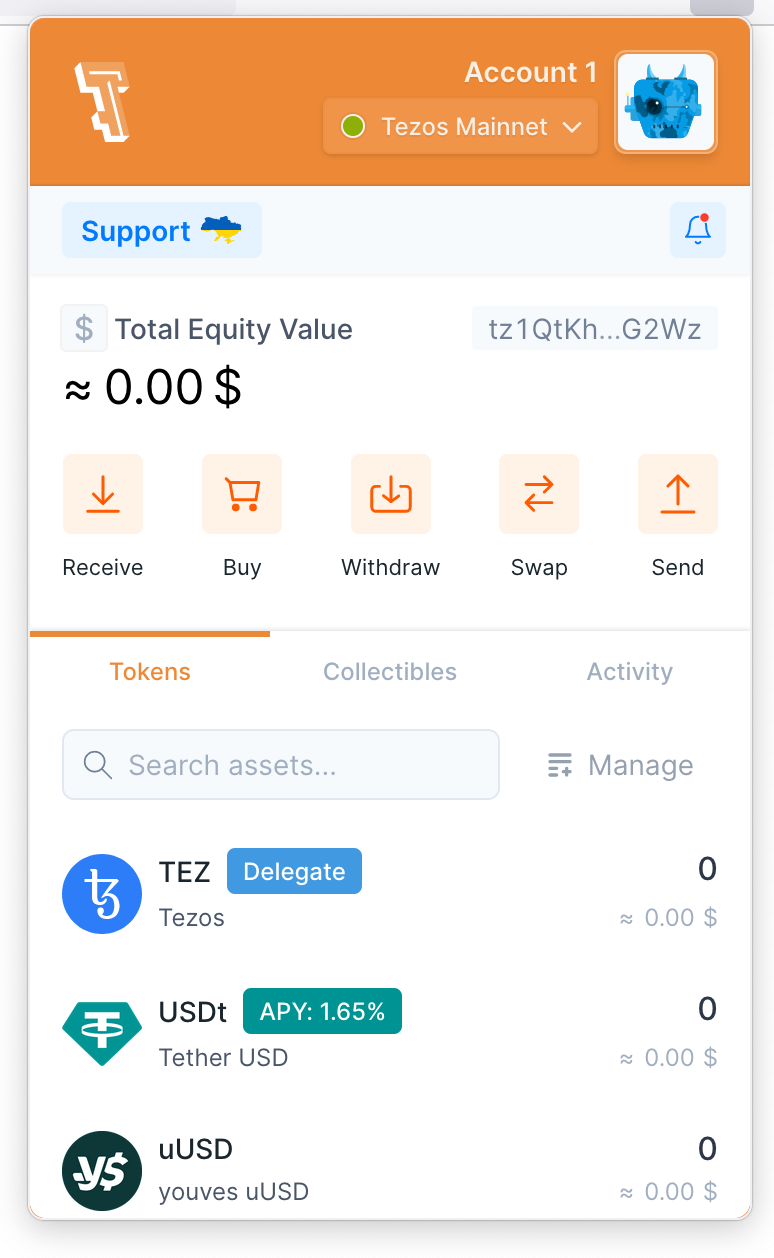
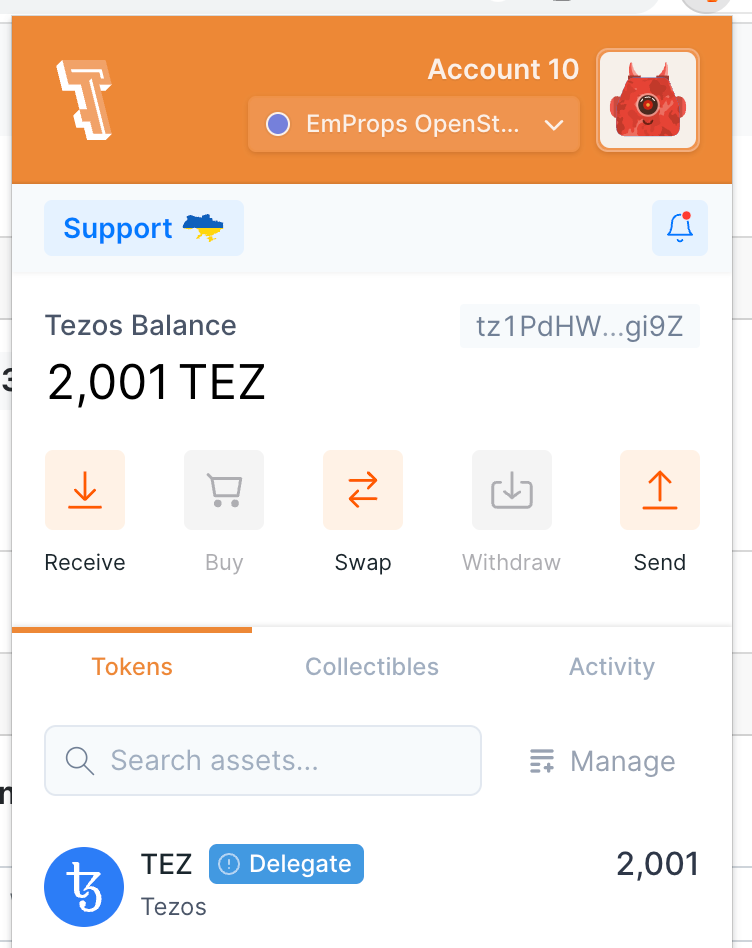
If your Temple wallet looks like this you have successfully added a custom network that fast and reliable. Congrats
Fill up your wallet
Now that you have your wallet created, or imported, and the correct network setup, the last thing we need to do is get some test Tez.
Go Here: https://faucet.ghostnet.teztnets.xyz/ and connect your wallet
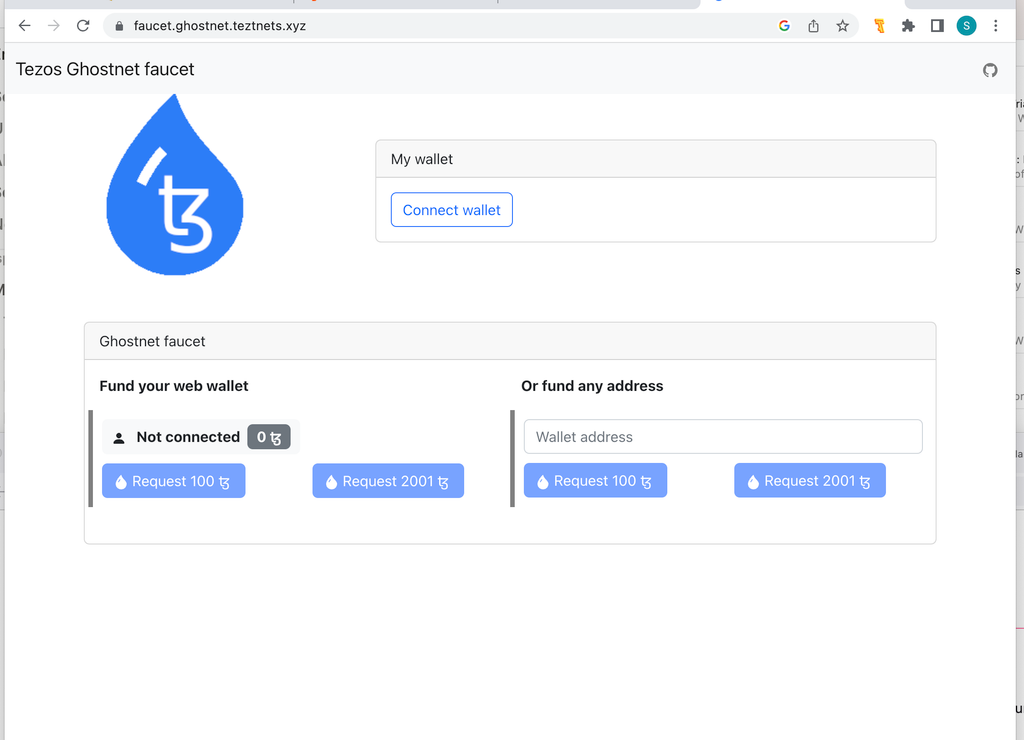

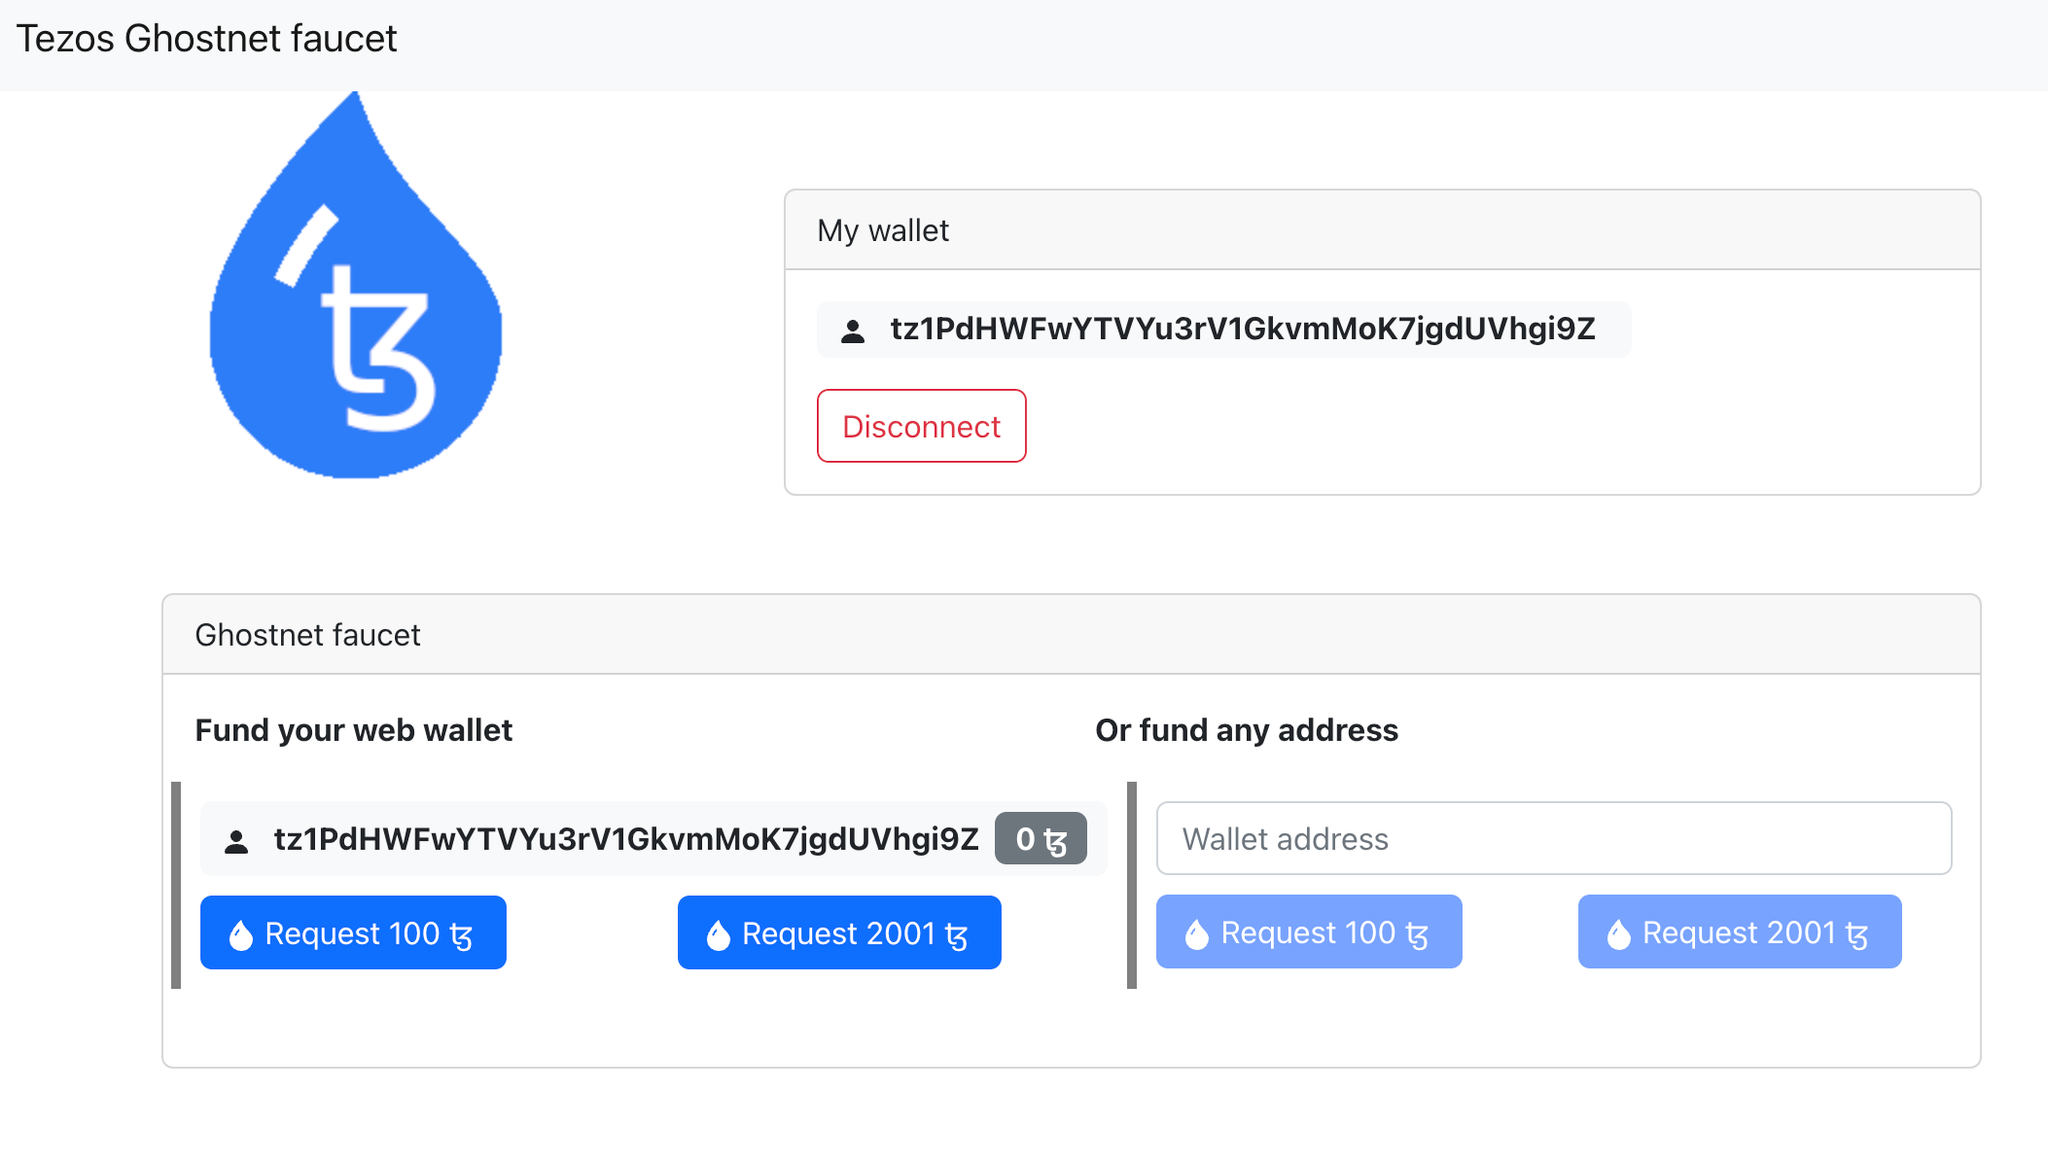
With a connected wallet you can request whatever amount you want, I’ll do 2001.
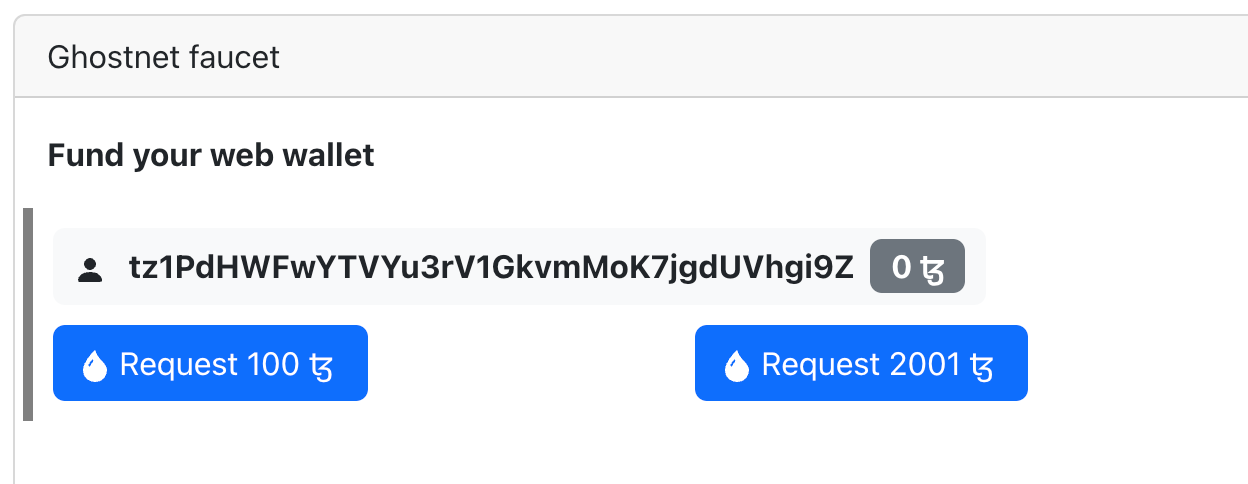
If all went well you will see that you now have test tez and are ready to move on to the next section of the Tuturial.
phx.gru3xaq@JNC_ema
